Labels

Abbott Kinney (1) Accessories (4) Adam (1) Adrian Villar Rojas (1) After Party (1) Alejandra and Jonathan (2) Alki Beach (1) Amado (108) Anniversary (2) Apple (4) Art (17) Art Center (1) Atwater (1) Austin (1) B&W (1) Babies (19) Baby (1) Baby Portraits (1) Bags (8) Barangay LA (8) Beach (16) Behind-The-Scenes (2) Benny (31) Big Bear (2) Birthday (33) Black and White (4) Black n White (26) Block Party (1) Bloedel Reserve (1) Brave and Maiden (1) Bride (1) buildings (1) California (1) Camera (1) Candy and Evan (4) Cannon Beach (1) Canon (3) Carl Craig (1) Carlsbad (3) Carmel (1) Cates Family (1) Chemex (1) Chicago (2) Children (1) Christmas (15) Coffee (5) Colorado (1) Cooking (4) Coronavirus (1) Couples (4) Covid19 (1) Crafts (1) Descanso Garden (2) Desert (1) Desserts (28) Dill Family (1) Disneyland (1) DJI (1) DJI Osmo Pocket (2) Dogs (78) Downtown LA (12) DTLA (14) El Dorado Park (1) El Segundo (7) Endeavor (1) Engagement Portraits (2) Engagements (9) Espinoza Family (1) Events (11) Falls (1) Family (61) Family Portraits (31) Fashion (9) Features (1) Film (5) Fitness (1) Flash (6) Flowers (10) Food (67) french bulldog (13) FrenchBulldog (21) Frenchie (31) Friends (22) Fujifilm (119) Fujifilm X100T (42) Fujifilm X100V (102) FujiFilmX100T (8) Gallery (3) Gavin Grey (1) Gear (1) Granada Hills (1) Grant Family (1) Gregory Crewdson (1) Groom (1) Hamilton Pool (1) Hammer Museum (2) Hario (1) Hauser and Wirth (2) Hayley and Joaquin (1) Headshots (1) Highland Park (2) Highlight (2) Highlighter (2) Hiking (8) Holidays (19) Home (9) Huntington Beach (1) Irvine (1) Japanese (8) Jeremiah (1) Jessica (1) Jordan Kahn (1) Juku (33) Kai and Gabe (3) Kami (60) Kids (7) LA Pride (2) LAMAG (1) Leather (2) Leo Carillo Ranch (1) LGBT (13) LhasaApso (27) Little Tokyo (1) Long Beach (5) Los Angeles (87) Macadaan Family (1) Malaya Project (19) Malibu (4) Manhattan Beach (20) Manhattan Beach Pier (3) Marciano Art Foundation (1) Maternity (6) McGill Family (1) Meteora (1) Misc (28) MOCA (5) Monterey (6) Movies (1) Mt Rainier (1) Murakami (19) Museum (17) New Orleans (1) New Year (2) New York (4) Night Photography (1) Nomiku (1) OCMA (1) Olafur Eliasson (1) Ongina (6) Orange County (2) Orange County Museum of Arts (1) Oregon (4) Osmo Pocket (1) Package (2) Paquette Family (1) Park (8) Party (10) Pasadena (1) Pat and Kevin (2) Pedro Vidallon (1) Pentax Spotmatic II (3) Personal (218) Pets (24) Photoshoot (16) Picasso (1) Pier (2) Plants (2) Pomona College (1) Portland (4) Portraits (74) Project (1) Proposal (1) Rachel and Jason (4) Recipe (3) Redondo Beach (1) Restaurant (10) Restaurants (1) Roller Derby (1) Rollergirls (1) San Diego (8) San Francisco (6) San Pedro (1) Santa Ana (1) Santa Barbara (5) Santa Monica (4) Santa Ynez (1) Seattle (3) Seattle Art Museum (1) Seeds Family (2) Self (5) Self Portrait (8) Series (1) Shihtzu (2) Slideshow (1) Small Business (1) sneak peek (2) Social Distancing (1) Solvang (1) Sous Vide (1) Souther California (1) Space (1) SPII (2) Sports (2) Spring (1) Street Photography (35) Strobing (1) Sturtevant Falls (1) Summer (4) Suoerbloom (1) Surprise (1) Swimming (1) Tattoo (2) Texas (1) Thanksgiving (1) Trader Joe’s (1) Travel (6) Untitled (42) UTLA (1) Vacation (33) Vasquez Rock (1) Video (7) Washington (2) Wedding Portraits (4) Weddings (15) Weekend (11) Wine (1) Winery (1) X100T (19) x100V (36) Yoga (1) Yucca Valley (1) Yves Saint Laurent (1) Zivalic Family (7)
Showing posts with label Desserts. Show all posts

Friday, May 2, 2014

Birthday Brunch - Dutch Baby

Whenever I'm having a difficult time deciding what to get someone for their birthday, cooking is always an unfailing option for me. A prepared meal for someone they can can enjoy while we catch up on things is as personalized as you can give for a gift. For Holly's birthday, I promised her brunch at our place with the girls. Rather than trying to figure out what new kid-friendly restaurant we can check out, it was better to have the girls play at our place while we ate. At least we had Juku and Kami to keep the girls busy. Oh and refrigerator magnets, they definitely keep Sully busy.

This time I snagged a recipe from Food and Wine, Mixed-Berry Dutch Baby. Never had one before so I thought I'd give it a whirl.


Ingredients

3 large eggs
1/2 teaspoon finely grated lemon zest
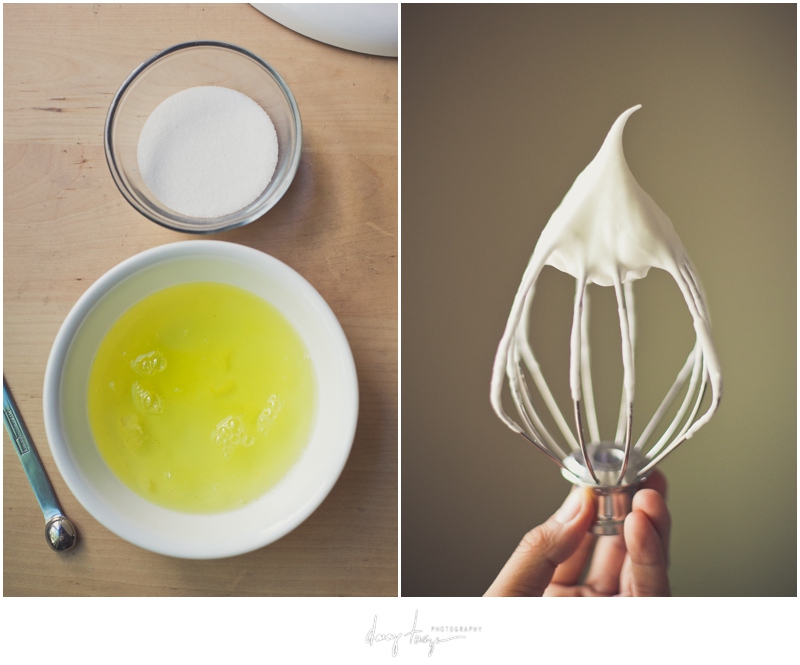
1/3 cup sugar
Pinch of salt
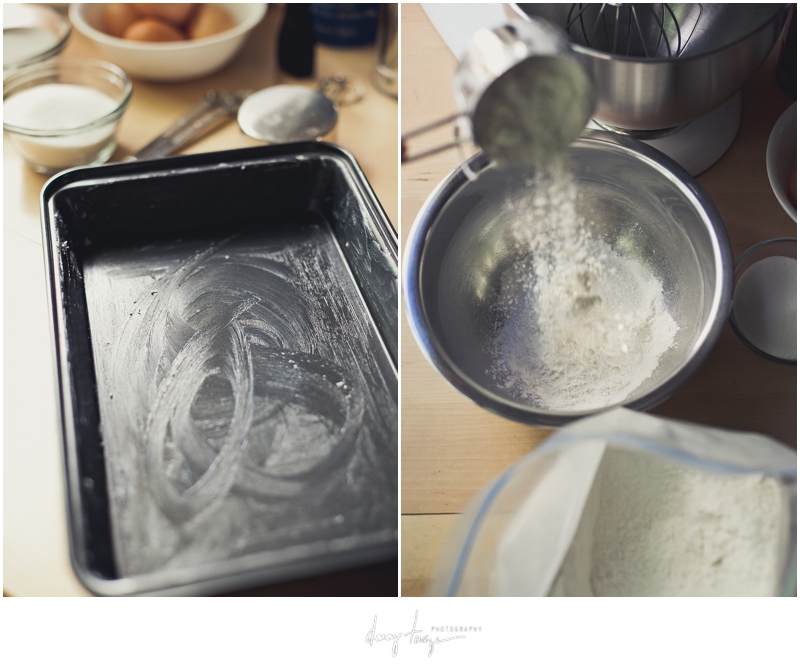
2/3 cup all-purpose flour
2/3 cup milk
2 cups raspberries
2 cups blackberries
4 tablespoons unsalted butter
Confectioners' sugar, for dusting


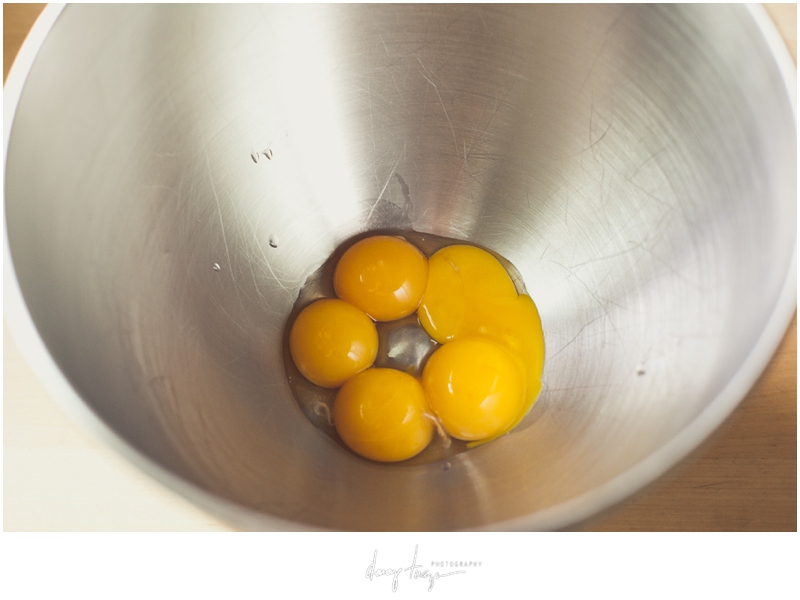
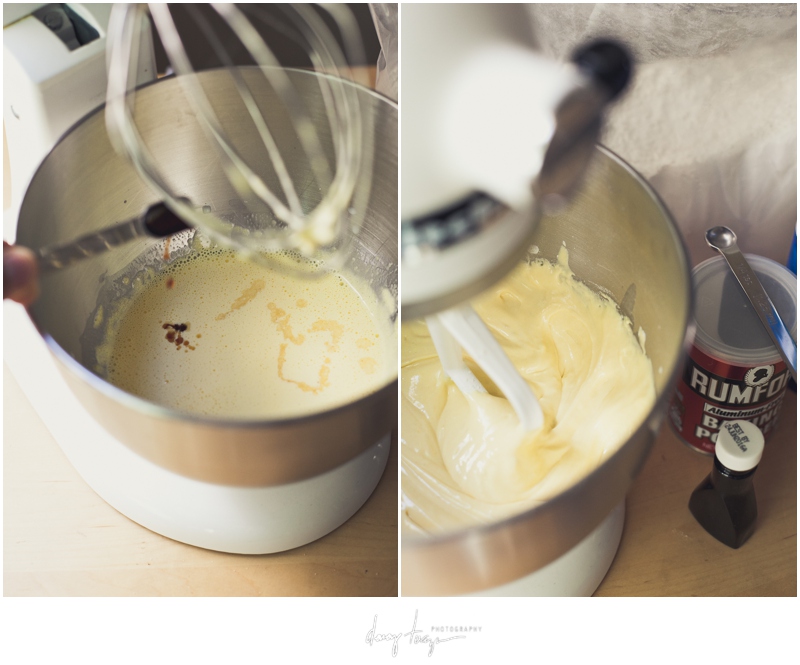
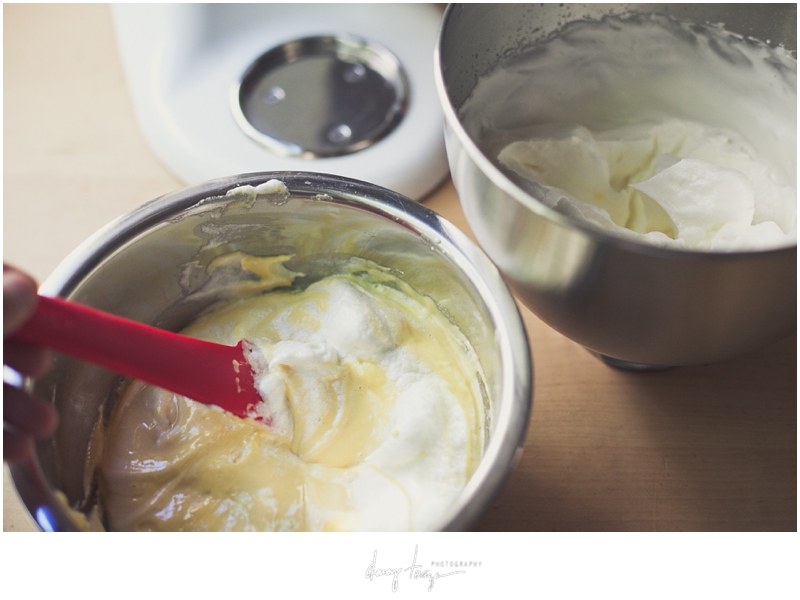
  1. Preheat the oven to 425° and heat a 10-inch cast-iron skillet over moderate heat. In a medium bowl, whisk the eggs with the finely grated lemon zest, sugar and salt until combined. Add the flour and milk and whisk until smooth. Add 1 cup each of the raspberries and blackberries.
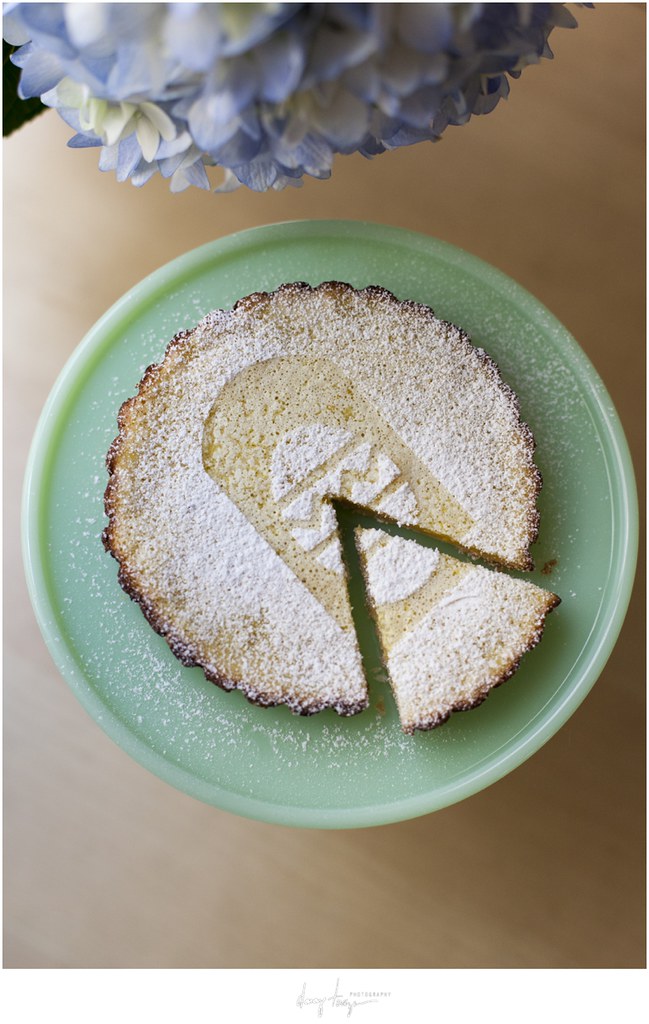
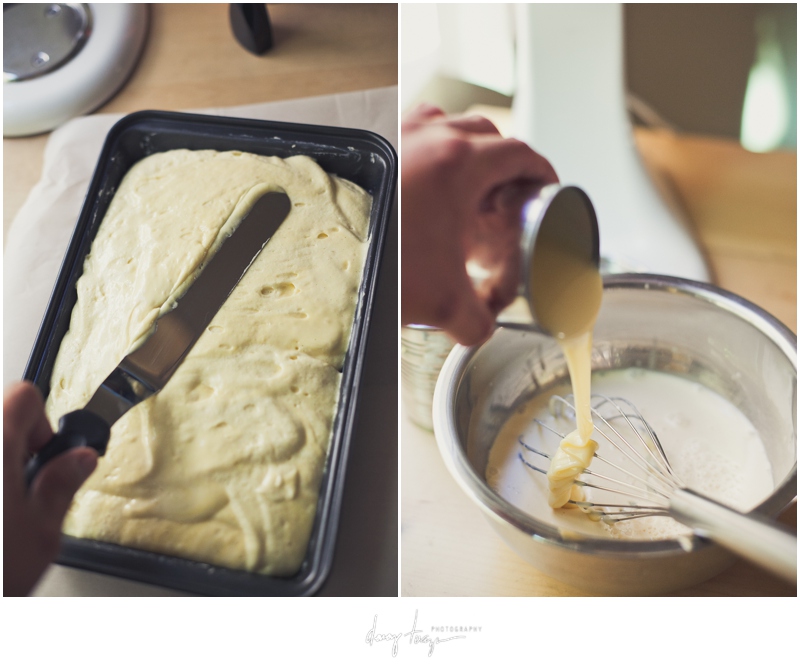
  2. Melt the butter in the skillet and add the batter, spreading the fruit evenly. Bake in the center of the oven for about 22 minutes, until the edges are browned and puffed and the center is lightly browned in spots. Transfer the skillet to a trivet and dust the Dutch Baby with confectioners' sugar. Cut into wedges and serve with the remaining fresh berries.

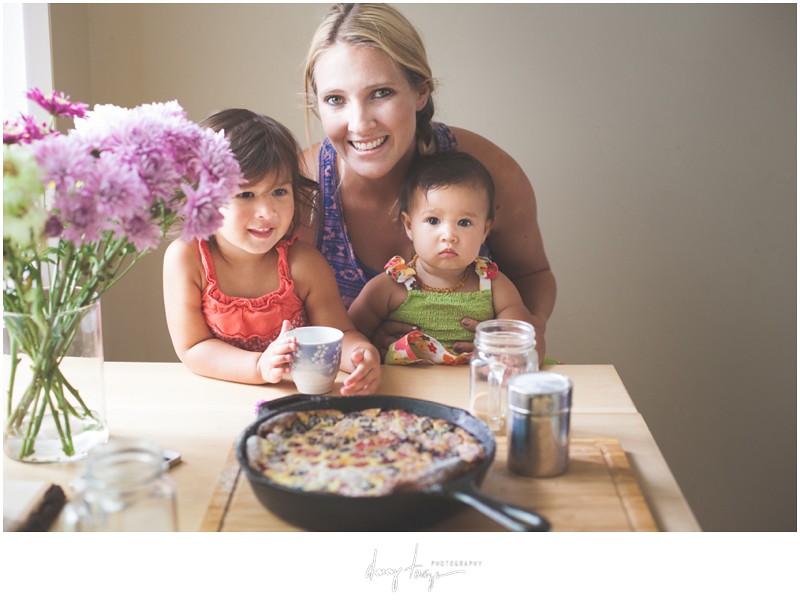
Happy Birthday Holl Doll! Amado and I really appreciate having you and the girls (and Ryan too I guess haha) be a part of our lives. We've seen your family grow and you've been there with us for one of the biggest moments Amado and I had. Thanks for letting us be a part of it all. Also thank you for saving me from those moments when we're hanging out together and strangers give us the -why doesn't Marley and Sully look the "dad" (me) look.

Friday, April 25, 2014

Lemon Bars

During the week of my birthday, I was stuck in the kitchen making everything from a rack of lamb for my birthday dinner to Madeleines for Amado's Easter giveaways. Yes, if you work with Amado, you probably received some of the sweets we've made at one point. Another dessert I made were lemon bars for when his family came over to our place after celebrating my birthday at Grimaldi's. *Sidenote: If you've miss that slice pizza from Brooklyn, head on out to Grimaldi's in El Segundo. It's the closest you'll get to some legit New York pizza. 

Oh and this jadeite cake stand! Amado got it for my birthday. I've been eyeing one ever since I saw it at Bountiful on Abbott Kinney. I told him I'd like to live in that store and the ice cream shop across the street.


Original recipe makes 1 - 9x13 inch pan
CRUST
1 cup butter, softened
1/2 cup white sugar
2 cups all-purpose flour
FILLING
eggs
1 1/2 cups white sugar
1/4 cup all-purpose flour
2 lemons, juice

Preheat oven to 350 degrees F (175 degrees C). In a medium bowl, blend together softened butter, 2 cups flour and 1/2 cup sugar. Press into the bottom of an ungreased 9x13 inch pan. Bake for 15 to 20 minutes in the preheated oven, or until firm and golden. In another bowl, whisk together the remaining 1 1/2 cups sugar and 1/4 cup flour. Whisk in the eggs and lemon juice. Pour over the baked crust. Bake for an additional 20 minutes in the preheated oven. The bars will firm up as they cool. Dust with powdered sugar before serving.

Monday, April 21, 2014

Birthday Dinner

For my birthday this year, Amado bought me a Nomiku for sous vide cooking. My instagram wall is flooded with food and sous vide cooking post because of it. I might be enjoying it too much. We've been able to experience dishes we normally cook in a new light. No more overcooked anything!


We paired Foodie Dice and Nomiku to come up with what to prepare for my birthday dinner. The ingredients we rolled were lamb, cilantro, artichokes, polenta and onions with pan fry for the cooking method. Right away I knew I wanted to do rack of lamb. For the rest of the ingredients, I made roasted artichokes salad with cilantro and basil vinaigrette paired with polenta topped with caramelized onions. 


The whole thing sounded so intimidating at first but I actually had a lot of time to prepare everything while the rack of lamb was sitting in the water bath for 2 hours.  


Searing the lamb after sous vide cooking was very quick. It took approximately 1 minute to get that maillard reaction when starting with a really hot pan.

Medium doneness throughout the entire rack. A-M-A-Z-I-N-G!

I wish I had a better photo of the final dish put together but I'm not gonna lie, we were really hungry. Our roomie Abby and her boyfriend Scott joined us for dinner and drinks which Amado enjoyed a bit too much because he was gone by the time we needed to work on his Easter Madelaine and Macaroons giveaways.

Oh and we can't forget the cake from one of my favorite local bakeries, Cake Bake Shop.

Monday, February 24, 2014

Maneki-Neko Mug

"No! you are not getting that." That was the first thing I said to Amado when he picked up this coffee mug while we were at the grocery store. It's so cheesy and didn't match anything that I use daily. It simply wasn't me. But after a few cups of coffee, I'm really hesitating to admit this, the maneki-neko (lucky cat) mug is starting to grow on me.


I would love to learn how to make baumkuchen (the pastry above) but it looks like I need this contraption that they use in all the how-to videos I've watched online. There has to be an easier way to make one!

Wednesday, February 19, 2014

Fruit Tart

I've been on a pie baking craze lately because of the new pastry mat and pastry blender that I bought a few weeks ago. Anything that calls for a dough usually means I'd have to sanitize our entire dining table as my working station. I still do it even if it's really annoying but not without grunting and muttering unpleasant stuff. Yes, you will catch me talking to myself when I'm working on almost anything. So far I've made mini apple pies and chocolate pecan pie (Instagram 1 & 2) which Amado both requested.

For no reason at all, not that I need any, I decided to try making a fruit tart. It wasn't as hard as I thought it would be. 


Pie Crust (Makes 2 sheets)

2 1/2 cups all-purpose flour
1 teaspoon salt
1 cup unsalted butter, chilled and cut into cubes
1/4 to 1/2 cup cold water 2 tablespoon granulated sugar

Instructions
1. Combine the flour, sugar, and salt then mix well.
2. Add the butter in the middle and mix using a pastry mixer.
3. Gradually pour the cold water while mixing the ingredients. Continue mixing until all the ingredients are well incorporated.
4. Gather the dough and mold it into a ball-shaped figure.
5. Refrigerate the dough for at least 30 minutes to harden the butter.
6. Sprinkle flour on a clean flat surface and flatten the refrigerated dough using a rolling pin. The flattened dough should be wide enough to cover a 9 inch circular baking pan.
7. Arrange the flattened dough on top of the baking pan and cut the extra edge using a pair of scissors. 8. Refrigerate while doing the filling.

For the pastry creme, I used the same recipe I use for when I make the filling for Mille Crepe (minus the whipped cream). The recipe needs tweaking since it's a bit runny. Maybe use flour instead of corn starch. Fruit tarts need filling that holds its shape and stays in place but Amado swears he likes it the way it was.


Wednesday, November 6, 2013

Tres Leches Cake

I was working on some images last Wednesday when I got an IM from Amado. I think we're the last two people on earth who still use AIM to chat.

Amado: Ok I, we have a project for tomorrow. I need you to make a Tres Leches Cake for Friday.
Me: Uhm, I never made one before.
Amado: I know! That's the fun part :) It's for my Manager's birthday.

I had a feeling he's already committed to the task even before he asked me so the only option for me was to say "yes". I knew it wasn't going to be a hard one to take on anyway.


Like the rest of my most recent recipes, I looked for one by Ree Drummond (The Pioneer Woman). Her recipes are really simple but really good. You can follow her recipe below. The cake in the first photo was made out of scrap pieces. Can't waste the good stuff! 

I wasn't able to take a photo of the finished cake because I wanted to wait for Amado to figure out how he wanted to decorate it. You can check out his Instagram photos here and here for the finished product.


It took every ounce of energy to hold myself back from licking the remnants of condensed milk off of that teaspoon. 


Ingredients
1 cup all-purpose flour
1-1/2 teaspoon baking powder
1/4 teaspoon salt
5 whole eggs, separated
1 cup sugar, divided 3/4 & 1/4
1 teaspoon vanilla
1/3 cup milk
1 can evaporated millk
1 can sweetened condensed milk
1/4 cup heavy cream

Icing:
1 pint heavy cream
3 tablespoons sugar

Preparation Instructions

Preheat oven to 350 degrees. 

Combine flour, baking powder, and salt in a large bowl. Beat egg yolks with 3/4 cup sugar on high speed until yolks are pale yellow. Stir in milk and vanilla. Pour egg yolk mixture over the flour mixture and stir very gently until combined. 

Beat egg whites on high speed until soft peaks form. With the mixer on, pour in remaining 1/4 cup sugar and beat until egg whites are stiff but not dry. Fold egg white mixture into the batter very gently until just combined. Pour into prepared pan and spread to even out the surface. Bake for 35 to 45 minutes or until a toothpick comes out clean. Turn cake out onto a rimmed platter and allow to cool. 

Combine condensed milk, evaporated milk, and heavy cream in a small pitcher. When cake is cool, pierce the surface with a fork several times. Slowly drizzle all but about 1 cup of the milk mixture—try to get as much around the edges of the cake as you can. Allow the cake to absorb the milk mixture for 30 minutes.

To ice the cake, whip 1 pint heavy cream with 3 tablespoons of sugar until thick and spreadable. Spread over the surface of the cake.

Wednesday, October 23, 2013

Dobash Birthday Cake

For my family, King's Hawaiian cakes are the go-to cakes for any occasions. It's always been a toss up between Dobash and Paradise cake. A Dobash cake has been on the top of my To-Do list and I finally had the opportunity to make it for Amado's birthday. If you haven't tried one yet, it's pretty much like taking a huge bite off a fluffy cloud. Oh and it's a chocolate cloud with each layer frosted and the top drizzled with chocolate milk ganache. Heaven, right?!

Unfortunately I wasn't able to take photos of each step while making the cake because I was preparing 2 other dishes at for that night so this one of Amado blowing out his birthday cake will do for now.

Tuesday, September 24, 2013

Homemade Cannoli

Last year our New York trip was cut short because of the hurricane. While we got to squeeze in as much as we had planned, one thing that was left unfulfilled for Amado was devouring a Veniero's cannoli. Since then, he's been on a mission to find a good (local) Italian bakery but he's given up after a couple of months so I decided to tackle making some myself.

The shell is pretty easy to make. It calls for the very basic ingredients much like a pasta dough. I did cheat a little by using my pasta maker instead of rolling out the dough by hand. The filling on the other hand took me 3 different tries to get it right. There are tons of the ricotta cheese filling recipes online but I couldn't get over the gritty texture. I also tried folding in some whipped cream in the second batch to lighten the filling but it still wasn't quite right. The ricotta and marscapone combination finally did the trick. Perfect consistency and you can control the sweetness with powdered sugar.


Cannoli Recipe:

4 cups sifted flour
3 tbsp butter
2 egg yolks (save the egg whites)
2 tbsp sugar
1/4 tsp salt
1/2 cup white wine
vegetable oil (for frying)

Combine the sifted flour, sugar, and salt a bowl. Cut in the butter into the dry ingredients. Add the egg yolks. Stir in the wine a tbsp at a time, until a doughlike consistency forms.

Roll the dough into a ball. Cover it with plastic wrap and let it rest in the fridge for at least 1/2 hour.

Cut the dough into 4 smaller portions for easy handling. Roll dough balls with a rolling pin on a floured  surface until it's thin. Cut in 4" circles. Wrap the circles around the cannoli forms and seal the ends with an egg white wash. Fry in vegetable oil until brown for about 1-2 minutes. Drain and gently remove the forms. Let it cool completely before filling.

Filling:

2 16oz ricotta cheese
2 8oz marscapone cheese
1 1/2 cups powdered sugar
2 tbsp vanilla extract
1/2 cup semi-sweet chocolate 

He finally got his homemade cannoli!

Thursday, September 19, 2013

Morning Coffee and Metro Day

It's obvious that Amado and I enjoy making things the hard way like homemade pasta for example. My cousin Anna and her husband Ron gave us a gift card and we quickly went to William Sonoma to pick up a hand-crank coffee mill. Yes, it adds more steps to preparing a cup or two of coffee but there's something about the whole process that I really enjoy. Also, nothing beats the smell of fresh ground coffee. Now we just need a gooseneck water kettle and a ceramic coffee dripper.


Our friend Jaypee brought back some coffee beans from his recent trip to Vanuatu and it was the perfect chance to test out the new mill.


Paired the coffee with a Filipino dessert called sapin-sapin (layered rice cake) which Amado only had a few bites of and I was more than happy to finish. I always grab one whenever we go to our local asian market.

That same weekend, Amado planned a Metro Day with a few of his colleagues. Taking the Metro is a great way to explore Los Angeles. You get to see places that you'd normally just pass through when driving. We started our day with brunch at Bottega Louie and walked on over to the library.


After that we hopped back on to the Expo Line and made our way to California Science Center. It was my first time going there. We didn't have much time to explore the whole place because it was packed with people. USC had a game the same day so the area was filled with families. The only exhibit we had a chance to see was the Endeavor. Of all the displays they had for the exhibit, we were really fascinated with the one that explained how astronauts handled going to the bathroom in space. Won't go into details and ruin it for you all, just go the Science Center and make a day out of it.


Wednesday, July 24, 2013

Macarons

There's nothing better than homemade desserts delivered to your front door! I ordered some homemade macarons from a friend of mine a few weeks ago. Diana and I have a few things in common. We went to the same high school, we both love macarons and we both have this on going battle with USPS. This batch was perfect! I would have taken a photo of the other box but I don't want you to see how much I've eaten since opening it. You can check her out on instagram to see about placing orders.


);